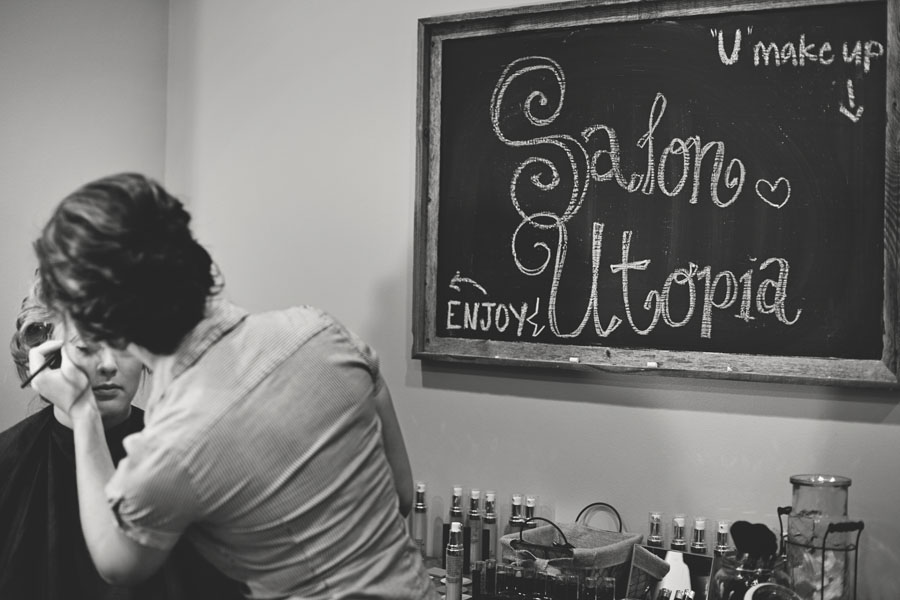
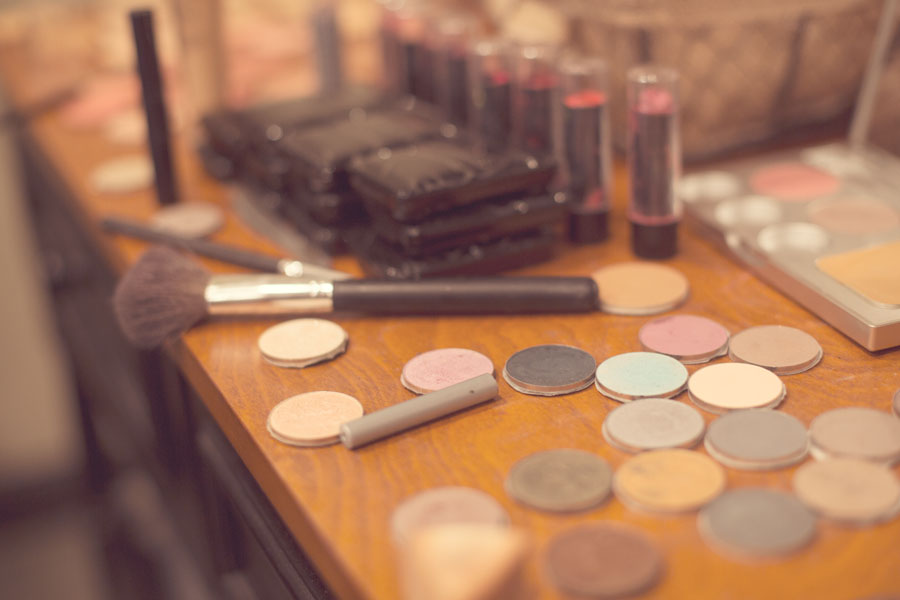
This week I am so excited to introduce you all to my sister, Stephani Quinn-- hair stylist, makeup artist, and one of the owners of Salon Utopia in Union City. I asked Steph if she could write a guest post for me, with a few tips for photo session makeup. I learned a few things from reading this and I hope it is helpful for you all as well! Enjoy!
Hi everyone! As a makeup artist and stylist I have had the privilege of helping bridal parties, high school seniors, pageant girls and many, many others get ready for a special day! Most of the ladies and girls I work with have their look captured on camera at some point during the event to capture that special moment in time. I have also worked with models, and both they and their photographers ask me how to make sure their makeup compliments them for their pictures. So I have put together this list of tips I think will help anyone getting ready to pose in front of the camera achieve the perfect look!
1. Walk towards the light! I know tans are in and we all want to look as dark as we can, BUT every line and every streak in a mismatched foundation can show. Have a professional match your foundation as close to your skin color as possible so it blends perfectly with your natural color!
2. No SPF This will be one of the only times I say no SPF lotion or SPF foundations, as they can cast a ghost-like reflection when a flash is used.
3. Stay Matte Do NOT use shimmer on the cheeks, and keep any eye shadow shimmer limited only to the eyelid. If you have any fine lines or creases around the eye it is better to stay away from shimmer altogether, as the shimmer reflects the light-- drawing attention to that spot!
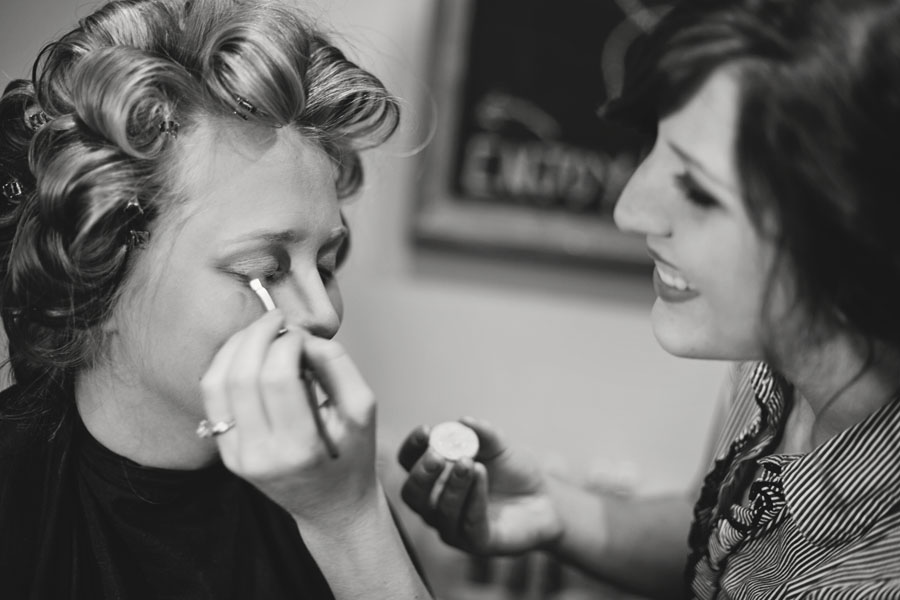
4. Lining it up Eyeliner is the place where we see most mistakes made! Liner is designed to make the eye smaller, so when you make too thick of a line all the way across you create a dark shadowed look, and in pictures you'll appear to have dark circles for eyes. It should start towards the center of the eye and be lightly stroked outward; then you can blend slightly inward toward the corners of your eyes. Use a brown or charcoal grey to avoid a heavy dark line.
5. BLEND BLEND AND BLEND Like I stated earlier, every line and every streak will show so make sure you BLEND everything! Go outside or by a window (where the light is most natural) and hold a mirror up. Check every inch to make sure it is all blended well!
6. Over do it! It's ok to go a little heavier with your makeup than normal, even when you are going for a more natural look, because in pictures it won't look so dark. The camera flash always, no matter what, washes out color so be sure to deepen your colors slightly more than you typically do.
--
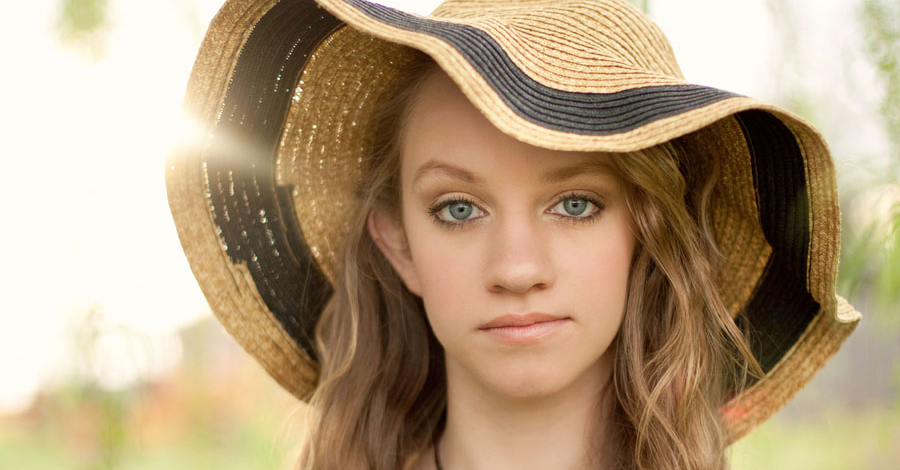
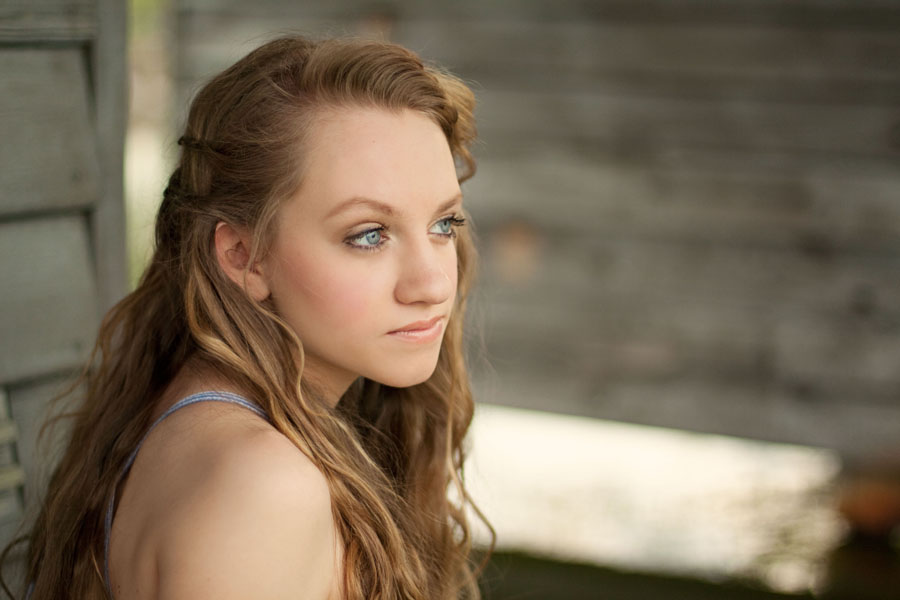
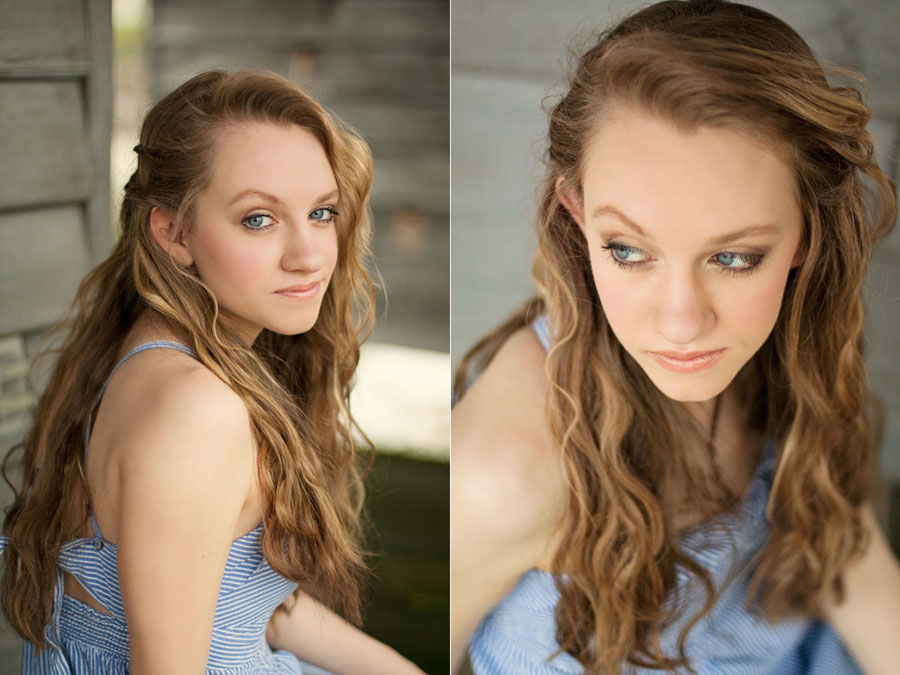
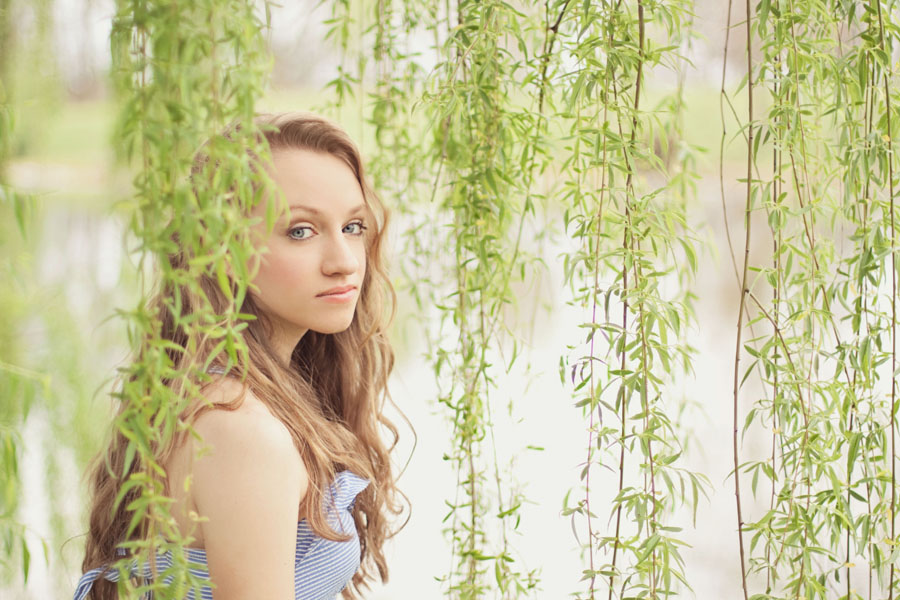
Stephani did the hair and makeup for Kelsey, the model in the images above. If you'd like to check out Salon Utopia or would rather have one of their talented stylists do your hair and makeup for your session, you can find them HERE! Thanks so much Stephani for sharing a few tips with us!